

technical section
Wiring in bar-end indicators.
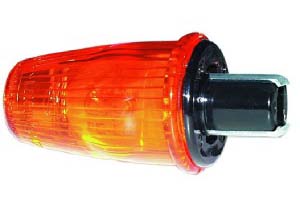
Some smallframe Vespas were fitted as standard with Hella or Triom bar end indicators.
Some had a DC system with a battery, whilst others like the final Japanese series had a batteryless AC system. On this page there are fitting instructions for the indicators themselves. Here's how it's all wired in.
Here's an original wiring diagram for a primavera with 6vAC electrics and no battery.
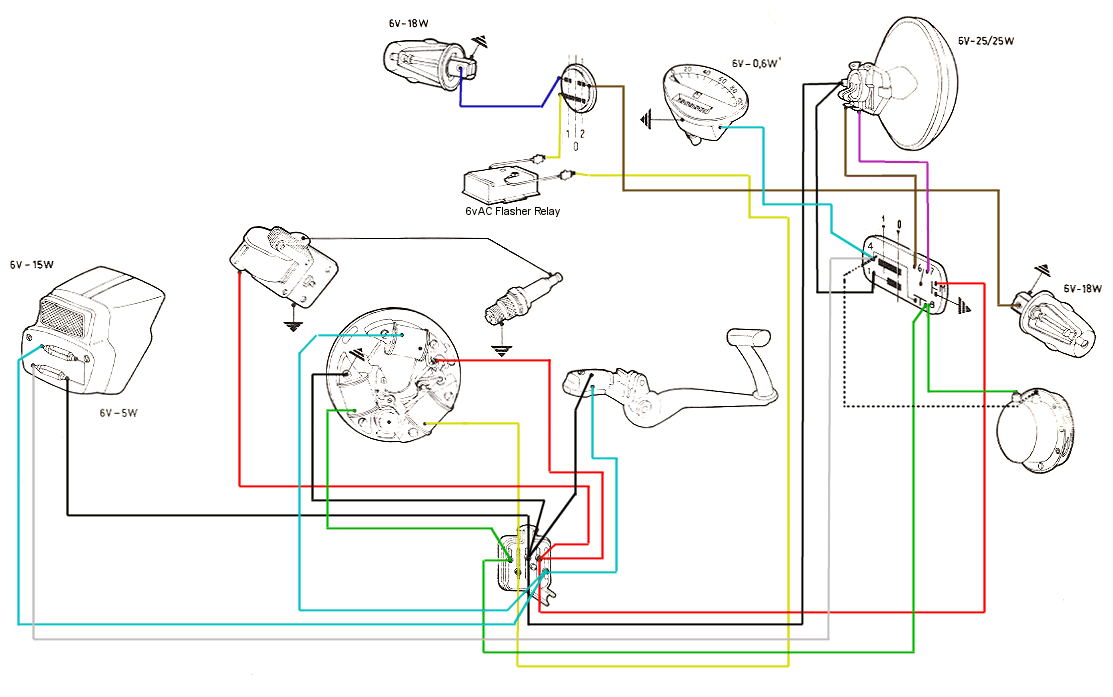
This should be enough to give you the general idea — Don't worry about the wires going to the stator plate, and look at the arrangement in the headset. One blue wire from the left indicator, one brown wire to the switch. The only thing to make sure of here is that the brown wire does not impede the speedo as it reaches across the headset — it's also a good idea to allow enough slack to account for the throttle and gear change movement.
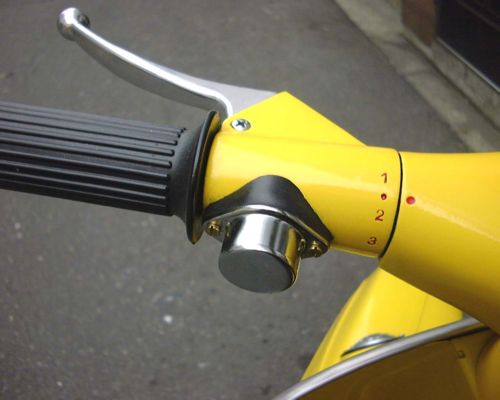
The switch itself (the same one was used on the Rally 200) is mounted on the gearchange, so it turns as the gearchange and clutch assembly turns. This allows the wires to go through the gearchange without snagging. Both the switch and the rubber mounting are available from Germany.
Now the difficult part is the flasher relay. Difficulty no.1 is actually finding a 6vAC flasher relay in the first place. At time of writing you can get one from Beedspeed or Scooter Center
Flasher relays come in 2 pin or 3 pin varieties. Either will do. The 3rd pin is for a tell-tale light on the dash.
Difficulty no.2 is working out where to put it. Where fitted as standard they were located under the seat, beneath the tool bucket. If your wiring loom has this provision (easily available from Germany) then that's great. Otherwise it will have to go in the toolbox if you have one, or if it will fit, in the headset somewhere. Not having a flasher unit to hand I can only guess, but there might just be room under the speedo, or behind the headlight. Wiring it up is actually the easy bit — one wire from the base on the switch, and one wire to your source of power. The original primavera wiring above shows a dedicated wire from the stator. The wiring diagram for the 1974 US spec machines shows a cable run from the horn switch (before it goes to the switch). This has the advantage that the whole kit can go in the headset, and you have no need to account for the fact the handlebars turn.
Good luck!